Hosting Static HTML Website with Azure Static Web Apps
I started creating Websites with pure HTML in mid-nineties. Moved to content management systems like Umbraco or Microsoft Power Pages. But for static website, I would use GitHub pages in the past.
But now, since the GA of Azure Static Web Apps (SWA), I now have another free of charge option. In this post, I'll share how I create and deployed my own static website using SWA.
Azure Static Web Apps
Typically on Azure, if you want to host websites, you will choose App Service or VMs. They support major backend languages and frameworks like .NET, Python, NodeJs, etc. However, if your website is pure static without any backend code, using App Service or VMs would be overkill since they are too expensive for a simple static website. Azure Static Web Apps solves this need of static websites by providing a free or less expensive option for hosting just static pages.
It can host pure HTML/JS websites that doesn't require code compilation as well as Angular, React, Vue or Blazor applications that need to be compiled. For GitHub pages users, you may like static page generators like Hugo, VuePress and Gatsby, SWA supports all of them.
In this post, I've already created a pure HTML website and upload the code to my GitHub repository. Let's see how to setup hosting and domain binding for this website on Azure SWA.
Prerequisites
- An Azure account with an active subscription. If you don't have one, you can create an account for free. https://portal.azure.com/
- A GitHub account. https://github.com/
- Visual Studio Code https://code.visualstudio.com/
- Azure Static Web Apps extension for Visual Studio Code https://marketplace.visualstudio.com/items?itemName=ms-azuretools.vscode-azurestaticwebapps
- Install Git https://www.git-scm.com/downloads
- Static Website content managed in your GitHub repository
Steps
- 1. Create a Static Web App
- 2. Review GitHub Actions
- 3. Create an Azure DNS Zone
- 4. Add Custom Domain
Create a Static Web App
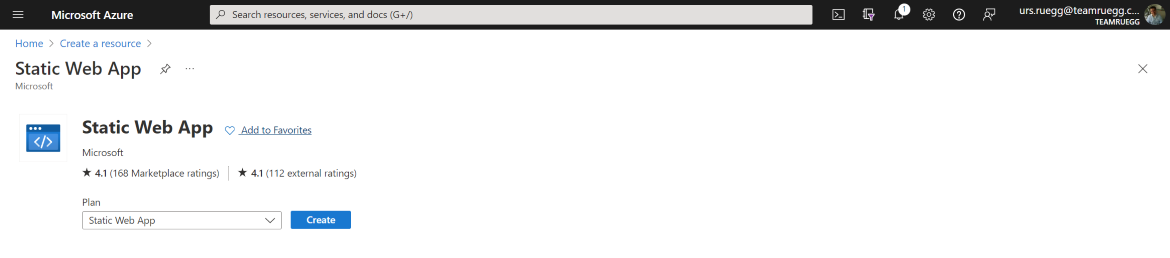
Go to Azure Portal, find Static Web Apps service and click «Create».
 Create a Static Web
App
Go to Azure Portal, find
Static Web Apps service and click «Create».
Create a Static Web
App
Go to Azure Portal, find
Static Web Apps service and click «Create».
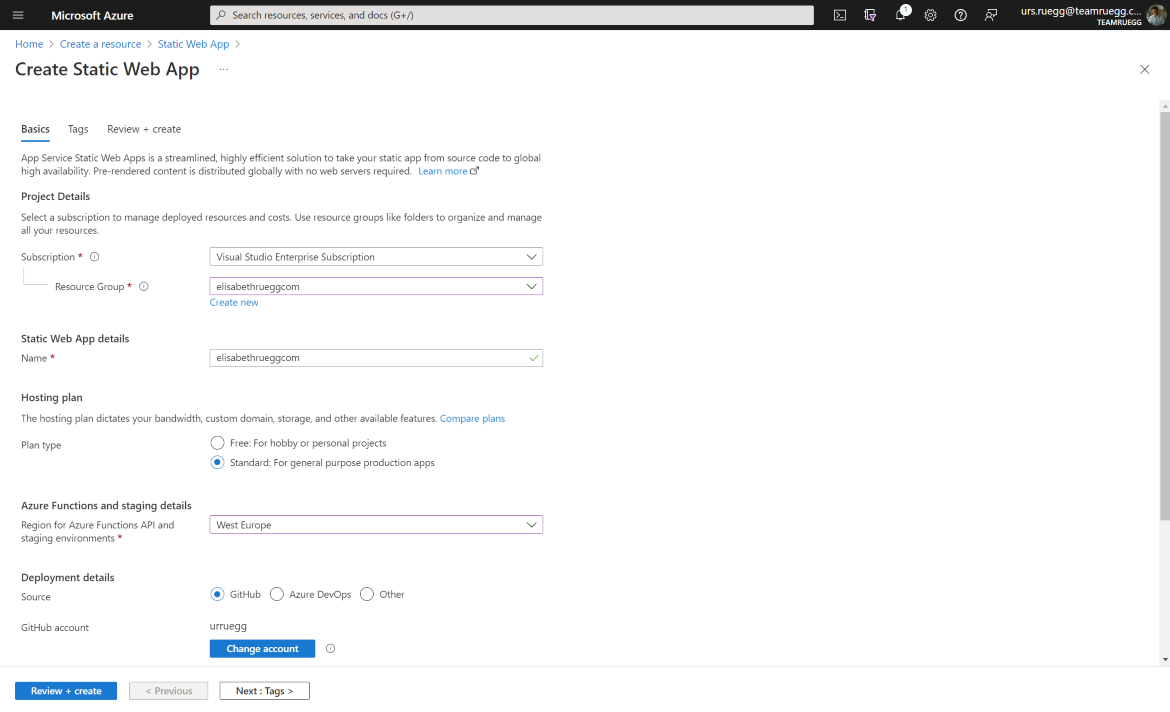
Give it a name and select a hosting plan. I use free plan for this website. Then choose GitHub as source, click «Sign in with GitHub » to finish authorization.
 Create a Static Web
App
Give it a name and select a
hosting plan. I use free plan for this website. Then choose
GitHub as source, click «Sign in with GitHub » to finish
authorization.
Create a Static Web
App
Give it a name and select a
hosting plan. I use free plan for this website. Then choose
GitHub as source, click «Sign in with GitHub » to finish
authorization.
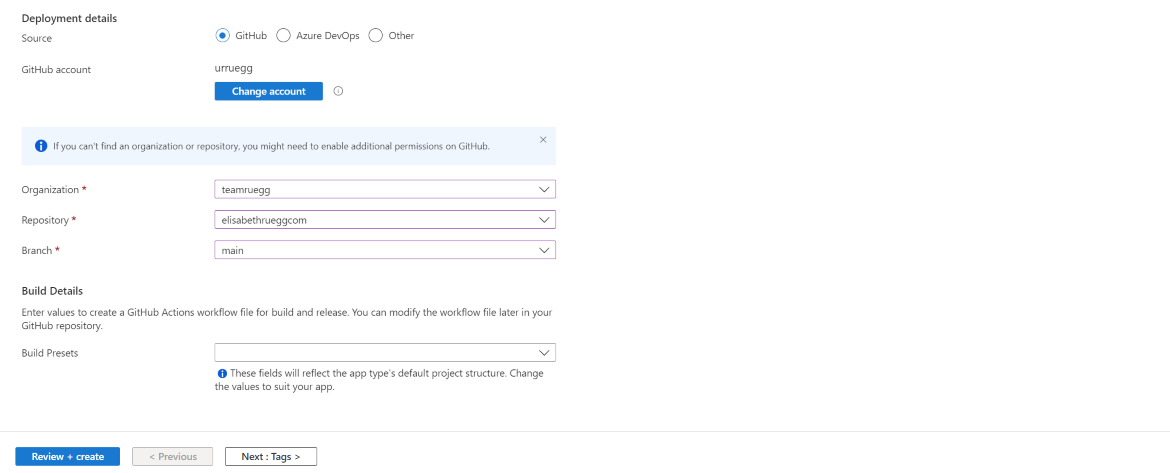
Choose my GitHub repo that contains the source code of my website. For pure HTML site, leave «Build Presets» as blank.
 Create a Static Web
App
Give it a name and select a
hosting plan. I use free plan for this website. Then choose
GitHub as source, click «Sign in with GitHub » to finish
authorization.
Create a Static Web
App
Give it a name and select a
hosting plan. I use free plan for this website. Then choose
GitHub as source, click «Sign in with GitHub » to finish
authorization.
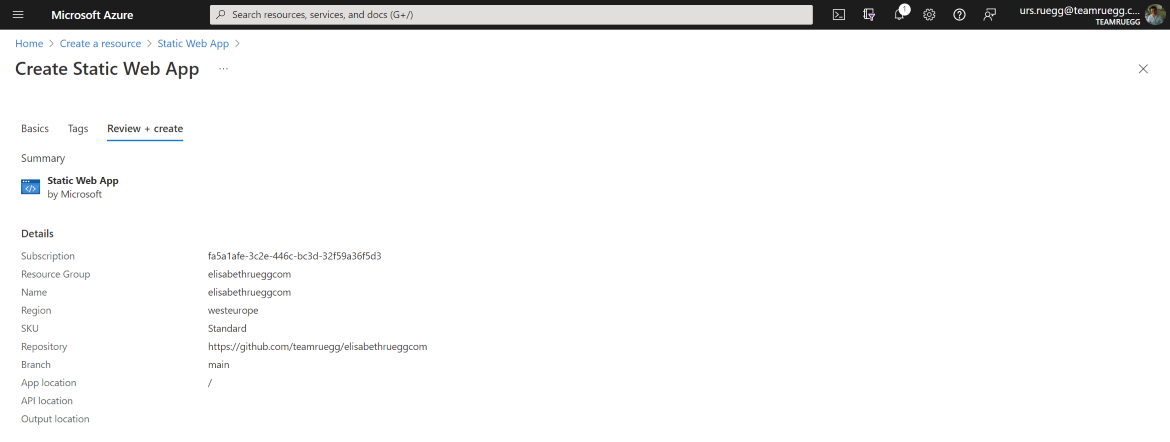
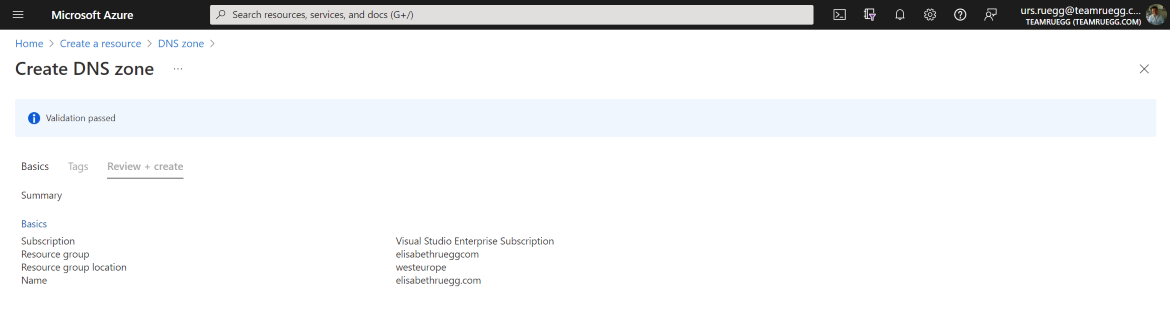
Confirm the details and click «Review + create».
 Create a Static Web
App
Give it a name and select a
hosting plan. I use free plan for this
website. Then choose GitHub as source, click «Sign in with
GitHub » to finish authorization.
Create a Static Web
App
Give it a name and select a
hosting plan. I use free plan for this
website. Then choose GitHub as source, click «Sign in with
GitHub » to finish authorization.
Review GitHub Actions
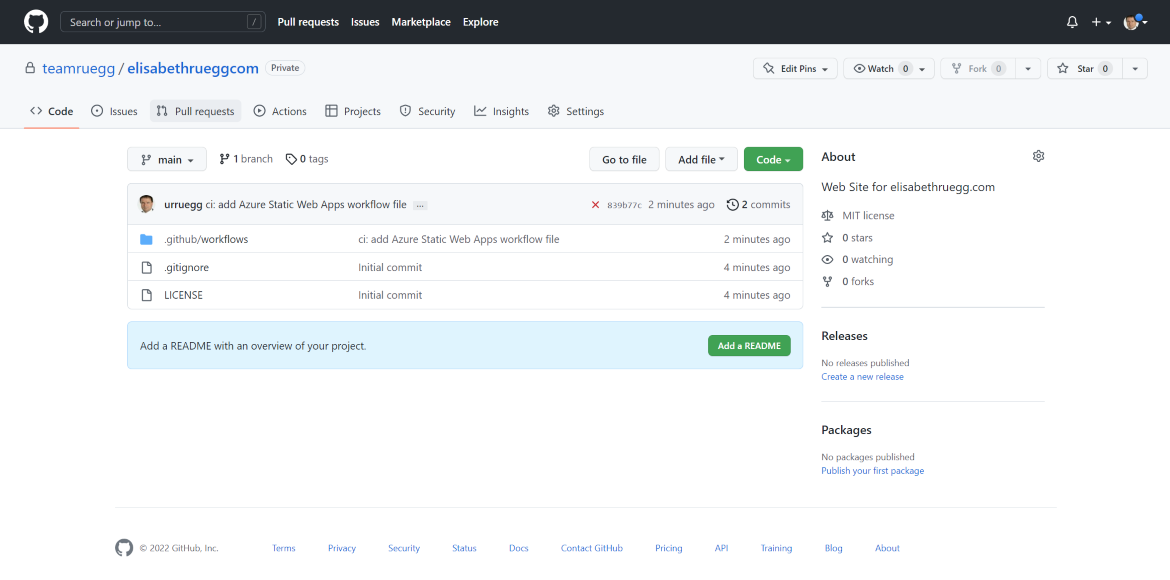
Now, back to my GitHub, I can see Azure added a new commit in this repo that created a new GitHub Action to build and publish my website. Wait for a few minutes for this action to finish.
 Review GitHub
Actions
Now, back to my GitHub, I
can see Azure added a new commit in this repo that created a new
GitHub Action to build and publish my website. Wait for a few
minutes for this action to finish.
Review GitHub
Actions
Now, back to my GitHub, I
can see Azure added a new commit in this repo that created a new
GitHub Action to build and publish my website. Wait for a few
minutes for this action to finish.
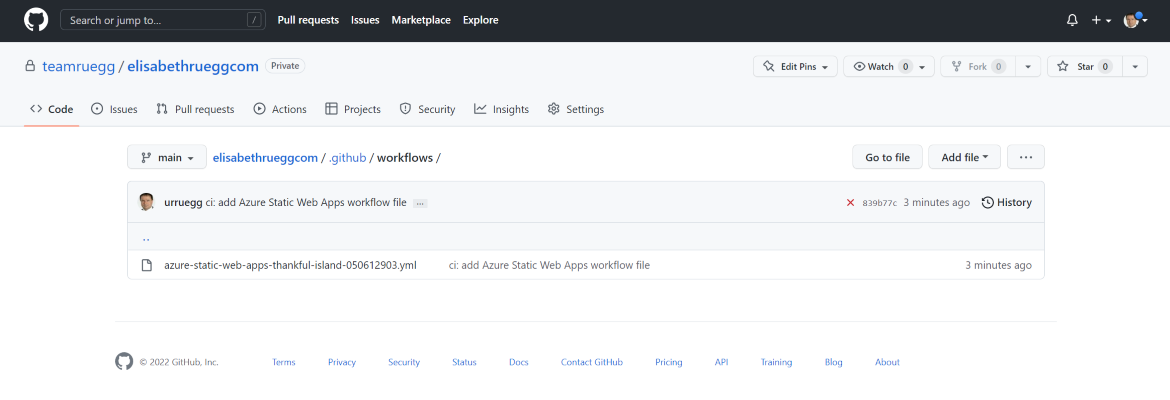
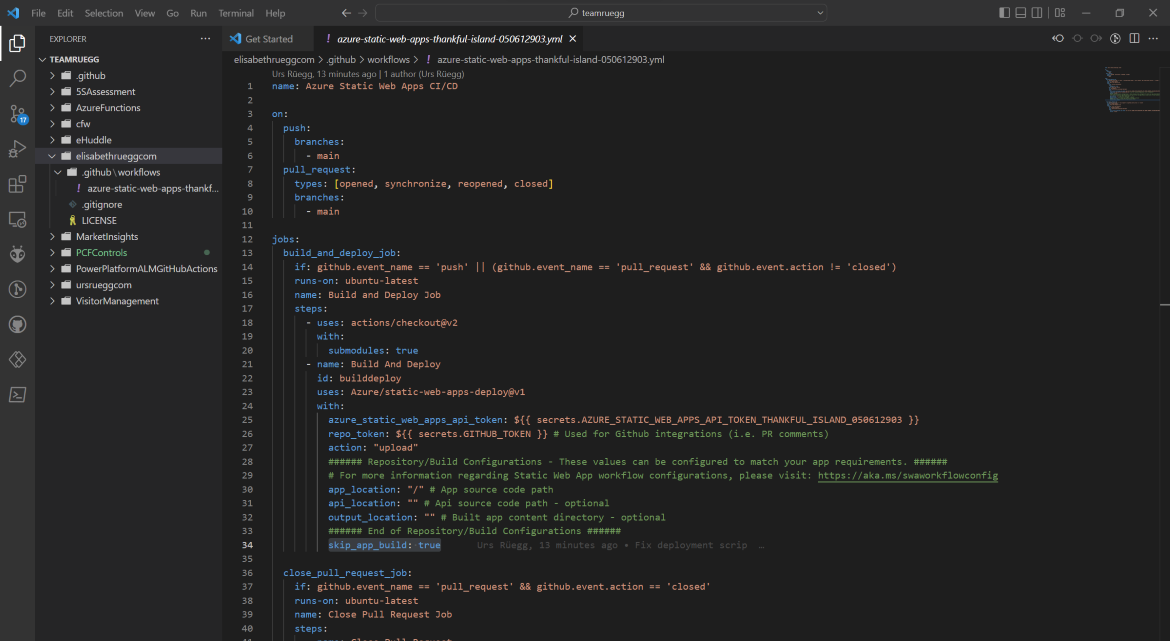
Open the created GitHub Action «azure-static-web-apps-
 Review GitHub
Actions
Open the created GitHub
Action «azure-static-web-apps-
Review GitHub
Actions
Open the created GitHub
Action «azure-static-web-apps-See details on Build configuration for Azure Static Web Apps | Microsoft Learn
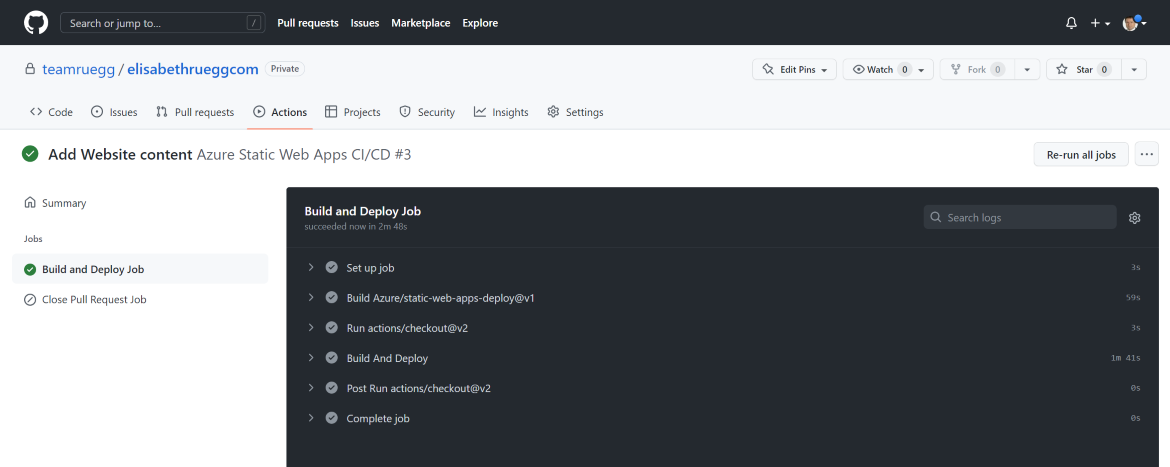
Check if deployment script works and website is deployed successfully.
 Review GitHub
Actions
Check if deployment script
works and website is deployed successfully.
Review GitHub
Actions
Check if deployment script
works and website is deployed successfully.
Now, go back to Azure Static Web Apps, click the URL that is generated randomly by Azure, my website is up and running now.
 Review GitHub
Actions
Now, go back to Azure Static
Web Apps, click the URL that is generated
randomly by Azure, my website is up and running now.
Review GitHub
Actions
Now, go back to Azure Static
Web Apps, click the URL that is generated
randomly by Azure, my website is up and running now.
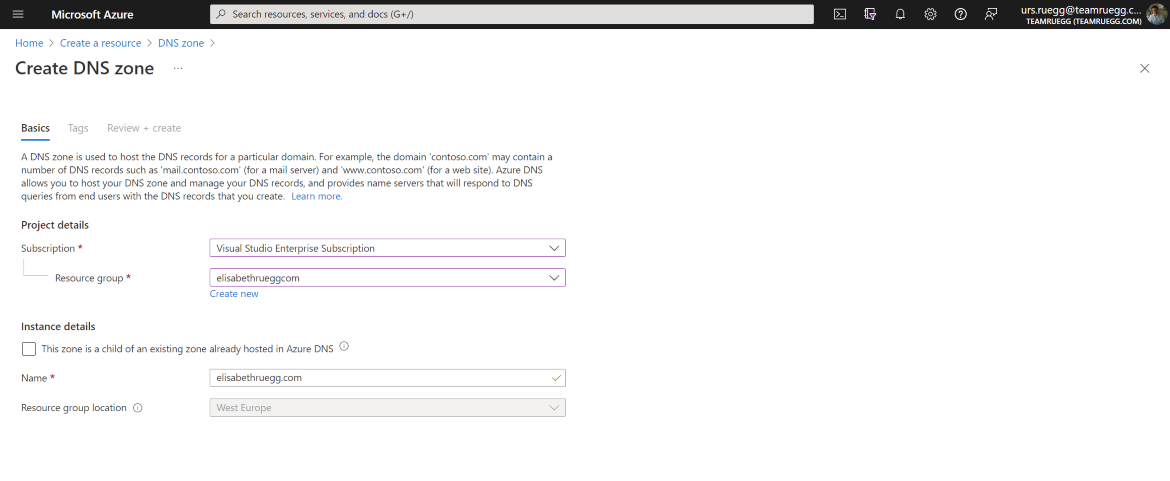
Create an Azure DNS zone
The default URL https://thankful-island-050612903.2.azurestaticapps.net is super ugly, I'm going to bind it to the domain name I bought. Azure Static Web Apps will provide a free HTTPS certificate just like GitHub Pages does. In my case I use Azure DNS zone to manage the domain name.
Go to Azure Portal, find DNS zones service and click «Create».
 Create an Azure DNS
zone
Go to Azure Portal, find DNS
zones service and click «Create».
Create an Azure DNS
zone
Go to Azure Portal, find DNS
zones service and click «Create».
Assign it to the same resource group
 Create an Azure DNS
zone
Assign it to the same
resource group
Create an Azure DNS
zone
Assign it to the same
resource group
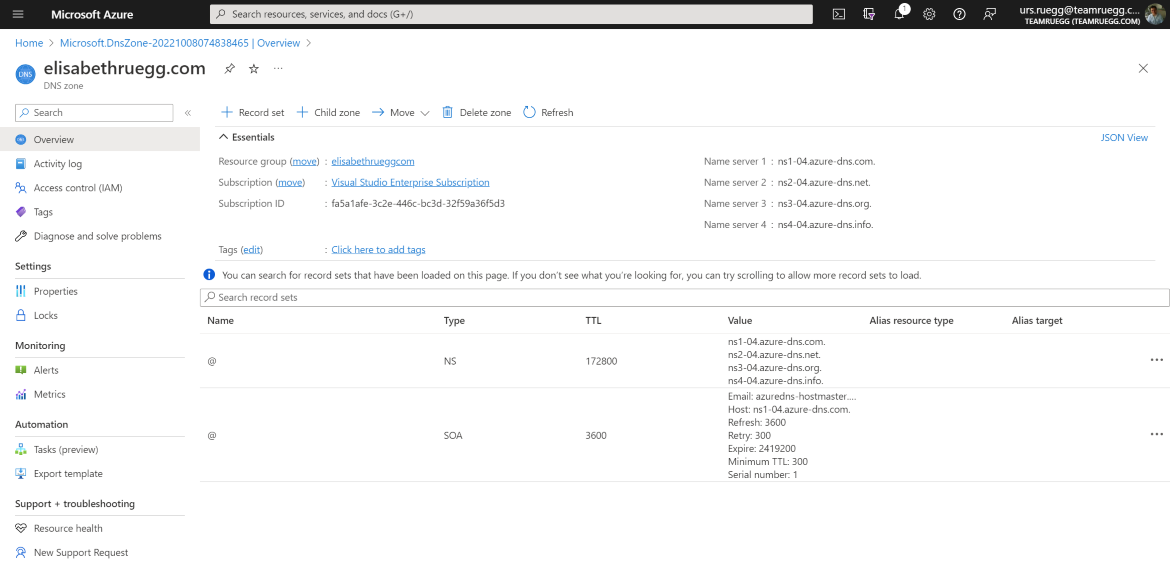
After deployment script finished you should get the overview. Before you can delegate your DNS zone to Azure DNS, you need to know the name servers for your zone. Azure DNS gives name servers from a pool each time a zone is created.
 Create an Azure DNS
zone
After deployment script
finished you should get the overview. Before you can
delegate your DNS zone to Azure DNS, you need to know the name
servers for
your zone. Azure DNS gives name servers from a pool each time a
zone is
created.
Create an Azure DNS
zone
After deployment script
finished you should get the overview. Before you can
delegate your DNS zone to Azure DNS, you need to know the name
servers for
your zone. Azure DNS gives name servers from a pool each time a
zone is
created.
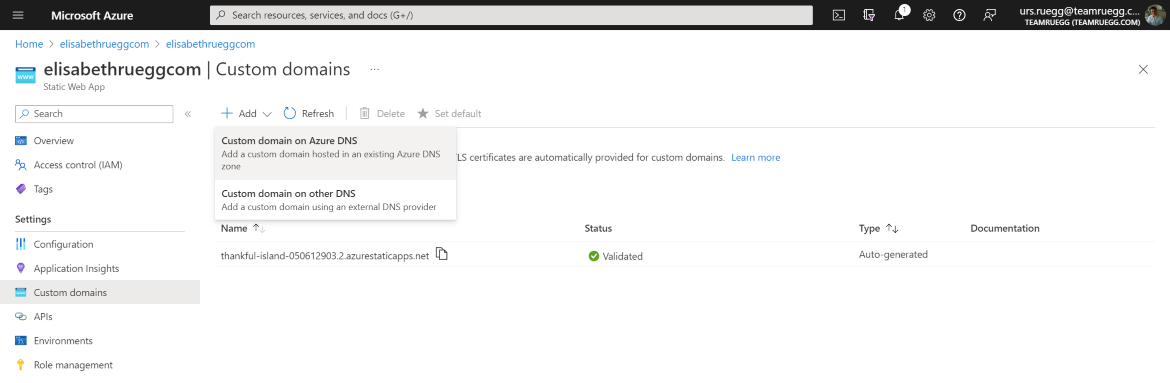
Add Custom Domain
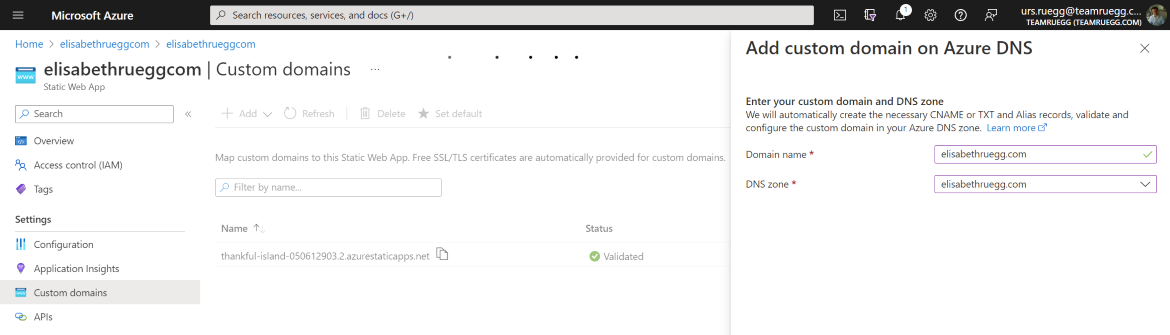
Go to « Custom domains» menu in SWA, click «Add» and choose «Custom domain on Azure DNS».
 Add Custom
Domain
Go to « Custom domains» menu
in SWA, click «Add» and choose «Custom domain on
Azure DNS».
Add Custom
Domain
Go to « Custom domains» menu
in SWA, click «Add» and choose «Custom domain on
Azure DNS».
Enter my domain name «elisabethruegg.com» and bind it to the previous created DNS zone.
 Add Custom
Domain
Enter my domain name
«elisabethruegg.com» and bind it to the previous created
DNS zone.
Add Custom
Domain
Enter my domain name
«elisabethruegg.com» and bind it to the previous created
DNS zone.
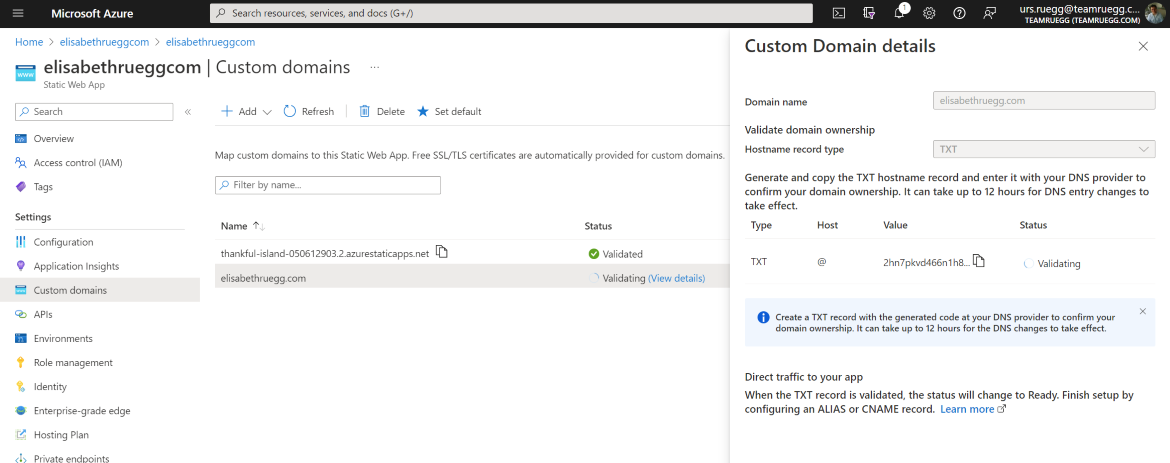
SWA supports apex domain and sub domains. For apex domains, we have to verify it by a TXT record. In my case, «elisabethruegg.com» is an apex domain, so I need to click "Generate code" to get a TXT record value for validation.
 Add Custom
Domain
In my case,
«elisabethruegg.com» is an apex domain, so I
need to click "Generate code" to get a TXT record value for
validation.
Add Custom
Domain
In my case,
«elisabethruegg.com» is an apex domain, so I
need to click "Generate code" to get a TXT record value for
validation.
Copy the generated code.
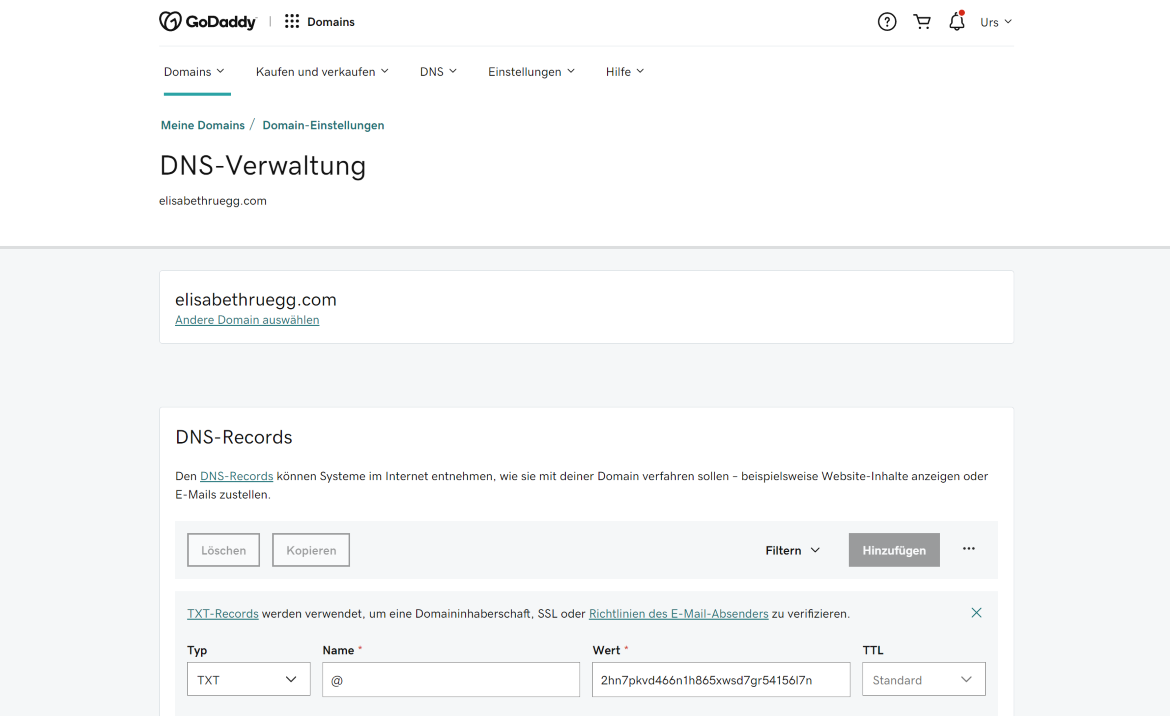
Go to your Domain Provider admin page (in my case GoDaddy) and add this TXT record to «elisabethruegg.com».
 Add Custom
Domain
Go to your Domain Provider
admin page (in my case GoDaddy) and add this TXT
record to «elisabethruegg.com».
Add Custom
Domain
Go to your Domain Provider
admin page (in my case GoDaddy) and add this TXT
record to «elisabethruegg.com».
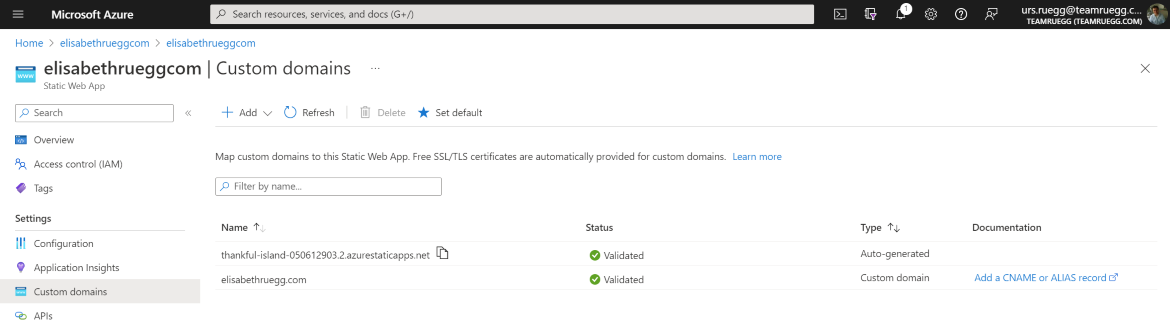
Switch back to the Azure Portal and after a while (10-20min) you should see «elisabethruegg.com» Status = Validated.
 Add Custom
Domain
Switch back to the Azure
Portal and after a while (10-20min) you should see
«elisabethruegg.com» Status = Validated.
Add Custom
Domain
Switch back to the Azure
Portal and after a while (10-20min) you should see
«elisabethruegg.com» Status = Validated.
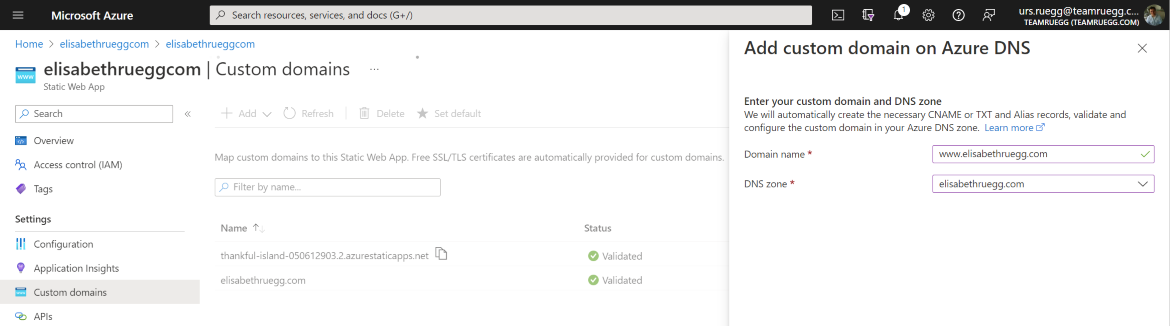
Now you can add Sub-domain «www» to your SWA by adding «www.elisabethruegg.com»
 Add Custom
Domain
Now you can add Sub-domain
«www» to your SWA by adding
«www.elisabethruegg.com»
Add Custom
Domain
Now you can add Sub-domain
«www» to your SWA by adding
«www.elisabethruegg.com»
After a while (10-20min) you should see «www.elisabethruegg.com» Status = Validated and I am able to access my static website by my custom domain name with HTTPS.
Conclusion
It's super easy to host a static HTML website free of charge with Azure Static Web Apps and GitHub.
6. Nov 2022